Step by Step Guide to Printing your Blog Book
Creating a book from your blog can be done in minutes, following these simple steps. Before you get started, you may want to check out our guide for preparing your blog content for best book results.
It’s entirely straightforward and hard to get wrong so feel free to skip this guide and just make your book.
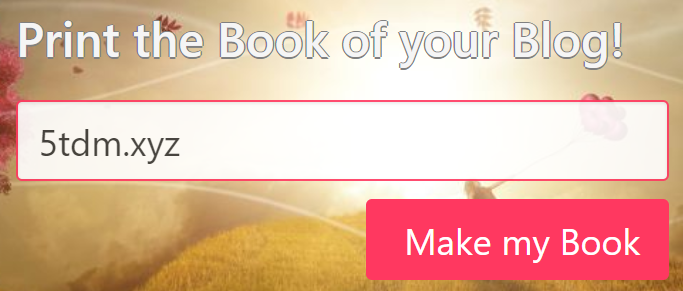
1. Enter your blog’s address
On the PixxiBook website, enter your blog’s URL address and click on the “Make my Book!” button. We recommend that you open your blog in your browser and copy the blog’s address from there to avoid any errors. Please be sure to use your blog’s public address (like you would share with your friends) and not your blog account or blog editing page.
A dialog will show progress as PixxiBook scans all of the articles in your blog. This may take few minutes if you have a thousand or more articles or your blog host is not very fast. For most blogs it will be much faster.
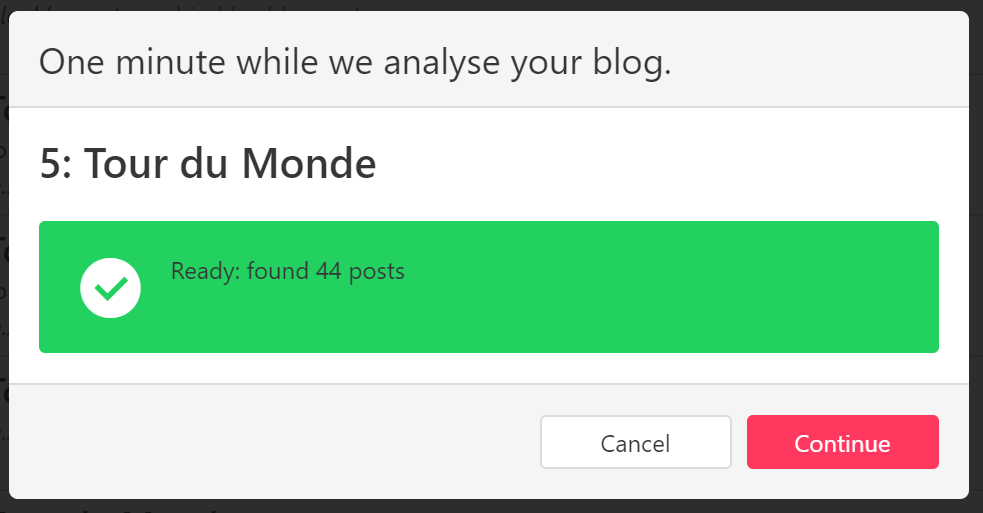
If you are not already signed in, we ask you to sign in or create an account so that you can always come back to your books later. We promise to never misuse your email!
Once scanning has completed, click “Continue” to continue to your book Preview!
2. Pick your Posts
Immediately, PixxiBook will begin building your book, including in it all of the posts it can find. If this is what you want, then just click “Done” and continue to the Preview.
In case you don’t want to use all posts, the Pick Posts dialog is automatically shown allowing you to control which posts will be included in your book. You can always come back to it later by clicking the “Pick Posts” button.
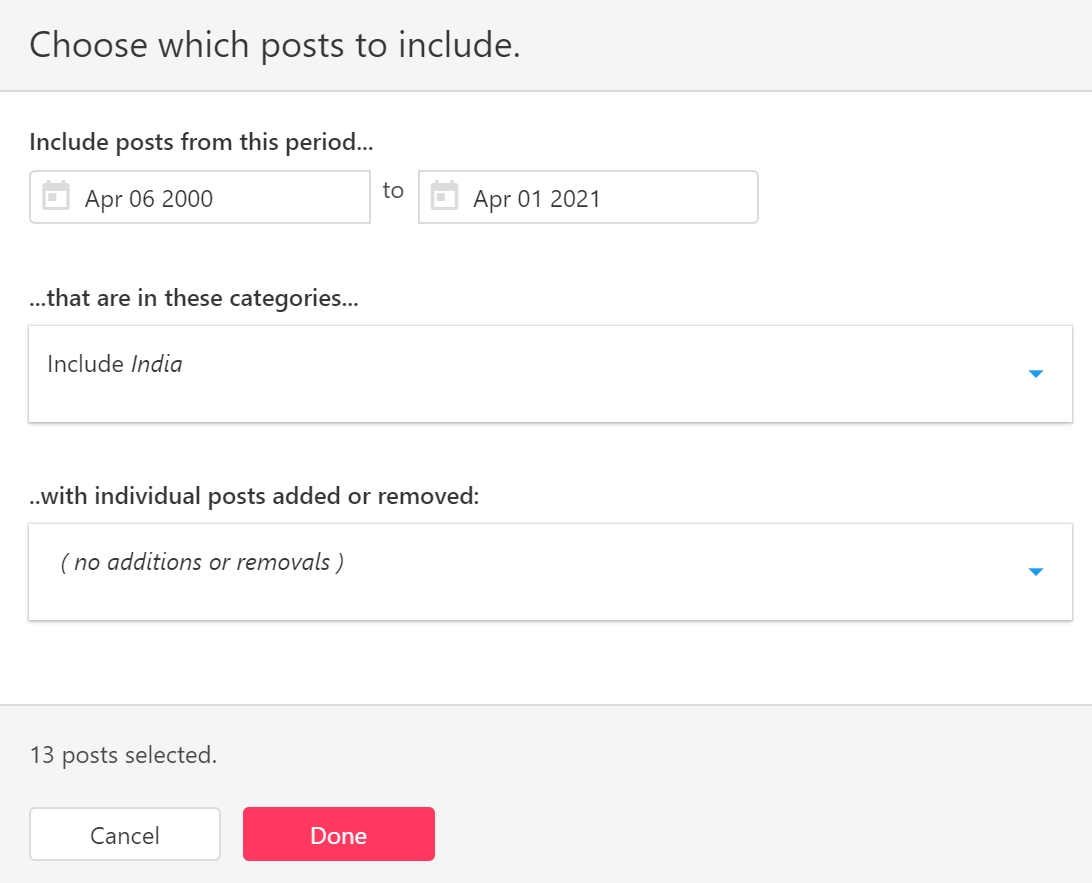
Here, you can filter your articles to winnow them down to exactly the ones you want in the book.
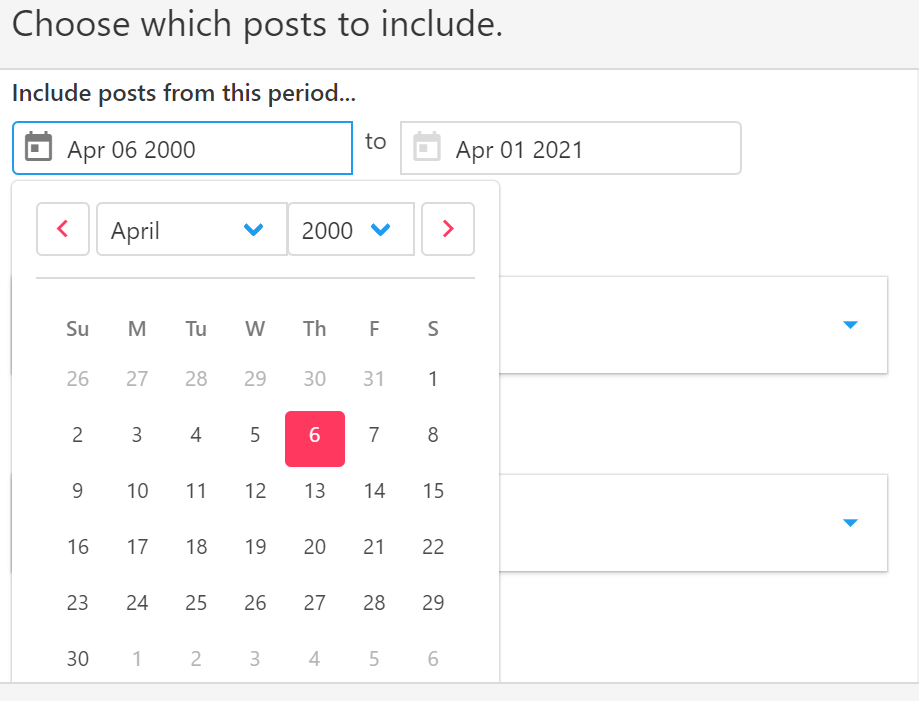
First narrow by date range. Select the start and end dates you are interested in. When selecting dates, be sure to select Year, Month, AND Day or it wont stick. Also, make sure that the begin date is before the end date! Usually by now the post selection will be what you want but it is possible to fine tune further - read on…
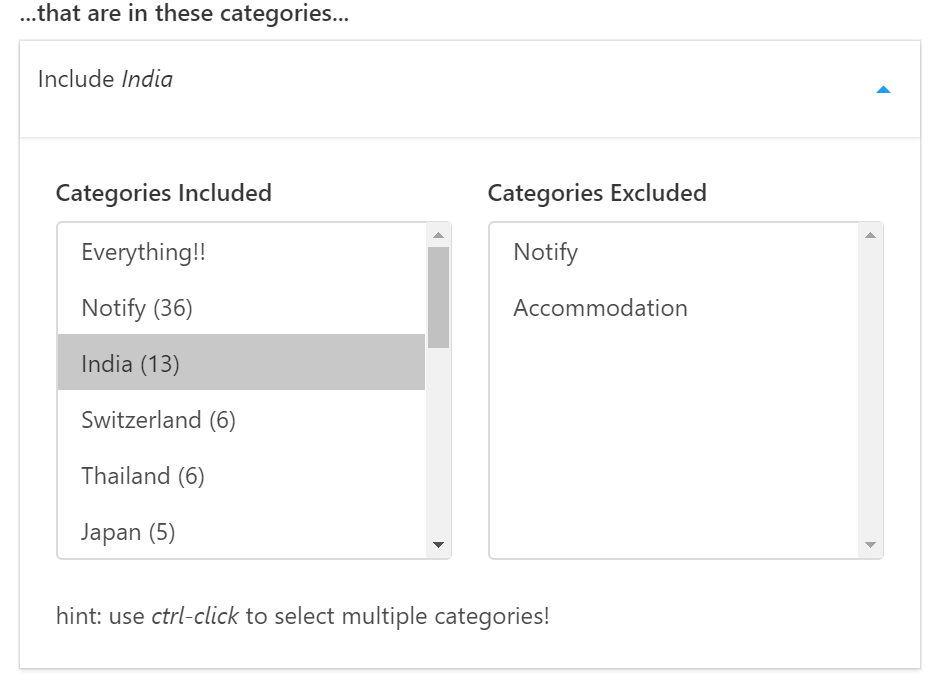
Optionally, you can now narrow by category. Most blog hosts allow articles to be tagged by arbitrary categories. If you have used these, then you can use the Include and Exclude category lists to select your articles. Expand the categories drop-down to show the lists of categories to include and exclued. First all of the articles that match the Include set are included except for all of the articles that also match the Exclude set. Note: you can select multiple categories inside each of the Include and Exclude lists. For example, you might want to Include category “India” but Exclude category "Accomodation".
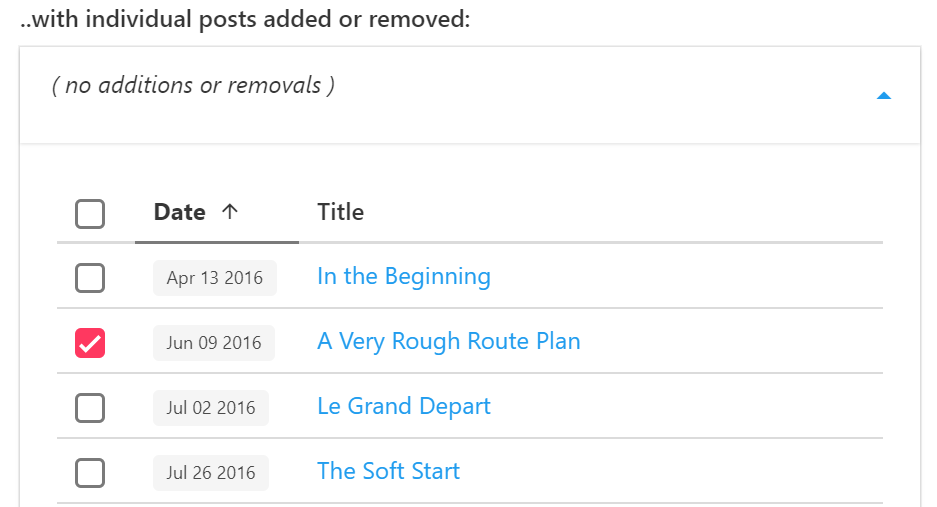
Finally, and again optionally, if you wish to fine tune the selection further, you can add or remove individual articles from the final selection. Tick to include, untick to exclude.
When you are happy with your selection, click “Done” to confirm the selection and let PixxiBook focus on building with only the articles you want.
4. Preview the Pages
The preview is already building and immediately and you can start flicking through the pages. It may take a few minutes to generate the whole preview, depending on your blog.
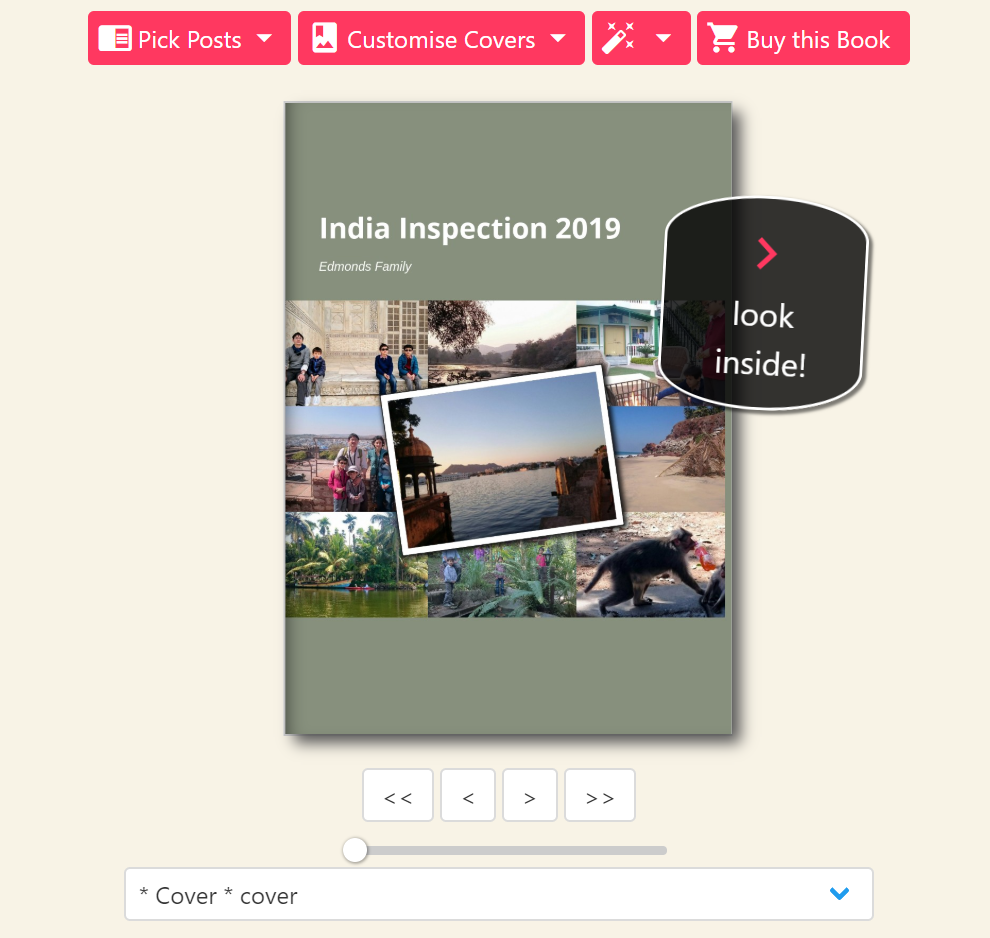
You can navigate through the whole book by clicking on the left or right pages to turn them or click the arrow buttons below to either skip by single pages or whole posts. You can also use the keyboard arrows to move forward and backward pages or N and P for Next and Previous posts. Finally, you can also skip to a particular point in the book by using the slider or the Post Title selector.
From here you can use the buttons:
- “Pick Posts” to fine tune your post selection
- “Customise Covers” to change cover colours, titles, or images
- “Magic Wand” to change some style settings
- “Buy this Book” - only after the book is 100% built!
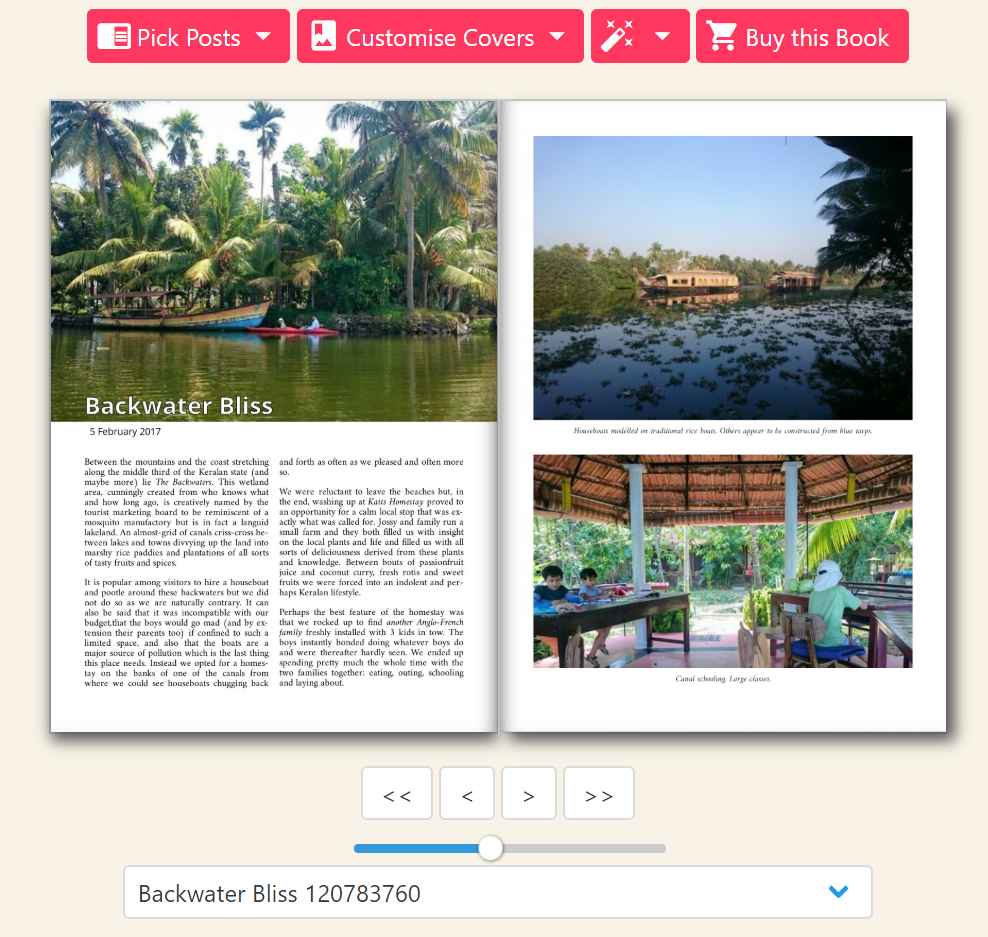
The preview gives an accurate depiction of what your final book will look like so it is important that you check each and every page! At each page, verify that the layout and content are acceptable, that captions are correctly attributed to the photos and that there is no formating weirdness. While the best effort is made to present your content as accurately as possible, be aware that:
- overly long captions may be truncated
- some photos may be lightly cropped to fit
- original formatting (eg: fonts and justification) is respected if it is explicitly set in the content which may have a different appearance in a book.
- tables and other fixed formating might not fit well in our two-column layout
If you do run into something funny, please get in touch - we can usually get it fixed. With the large number of blogs and versions and themes in use there are still some cases that can confuse our layout system.
4. Customise your Cover
While the inside of the book is layed out according to the Pixxis’ good taste, the cover is the place where you can make customisations. Click the “Customise Cover” button to begin customising your book’s cover.
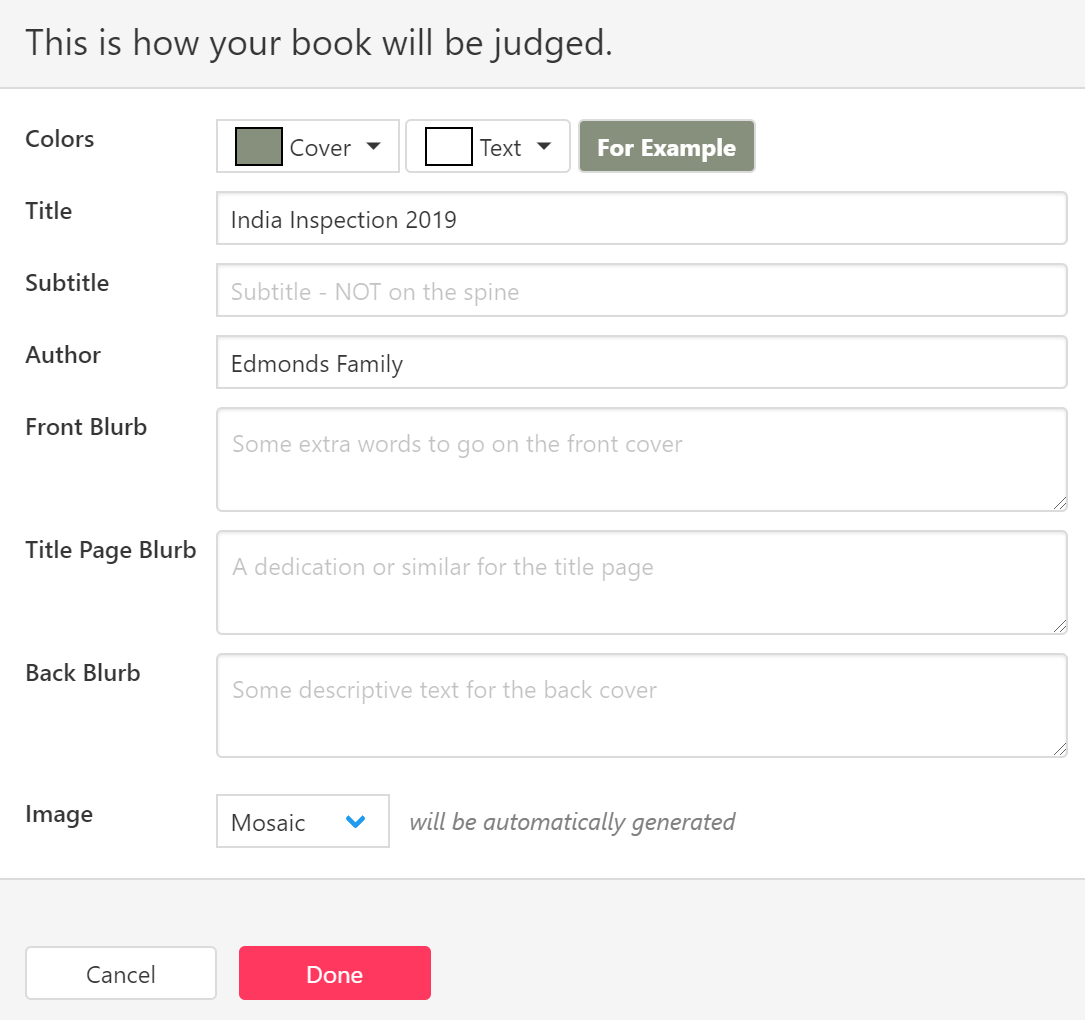
Here you can choose the colours, modify the title, subtitle, and author, as well as write small blurbs to be included on the front and back covers as well as on the title page. The title and author you specify here will also be printed on the book spine (unless it is too long). Please note that the SubTitle is not included on the spine so if you are making multiple volumes, it is good to include the volume number or dates in the Title or Author fields so that the books can be distinguished when sitting side by side on the shelf.
Most people stick with the default image mosaic but you can also set a Custom image by providing a link to an image or by uploading one. If you set a Custom image, please try to use a very high quality photo. After all, people will judge a book by its cover.
Once done, click “Done” and PixxiBook will render you a new preview of the cover.
5. Split into Volumes (if necessary)
It’s possible that your selected posts are too many or too long to fit into a single book and it will need to be split into multiple volumes. We currently support a maximum of 300 pages per volume. While it is possible to make thicker books, 300 pages is already 1.5 inches thick (~40mm) and fairly weighty. Two 200 page volumes is much more manageable and pleasant to read than a single 400 page tome!
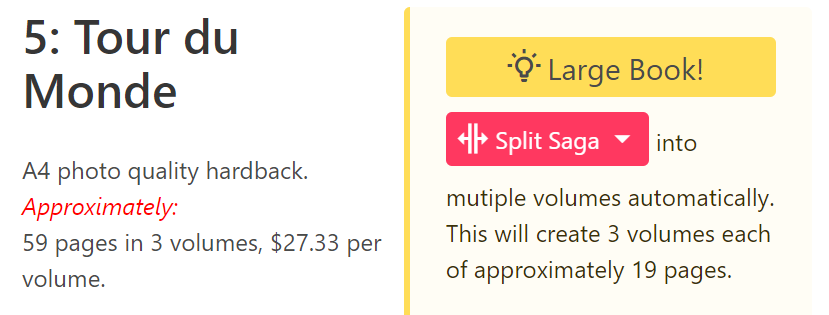
If your book requires splitting into volumes, you will be presented with the “Split Saga” button. This will automatically partition your content into the required number of volumes such that each volume has roughly the same number of pages. Individual posts will not be split across volumes.
Note that you do need to wait for the preview to be 100% ready before you split the volumes so we do recommend that you be sure to carefully selected all of the posts that you wish to include in the volume set so that the splitter can best calculate the number and size of volumes required.
When you split a book, the splitter will try to keep the page counts approximately equal for each volume while not exceeding the maximum and also not splitting an individual post. Once the book is split into volumes, you can customise the cover for each individual volume but if you wish to change the post selection then you will need to undo the split, make your changes, and then re-do the split. Don’t worry - it only takes a few clicks.
It is also possible to split the volumes manually, for example by Year or Category - please see the FAQ for more details.
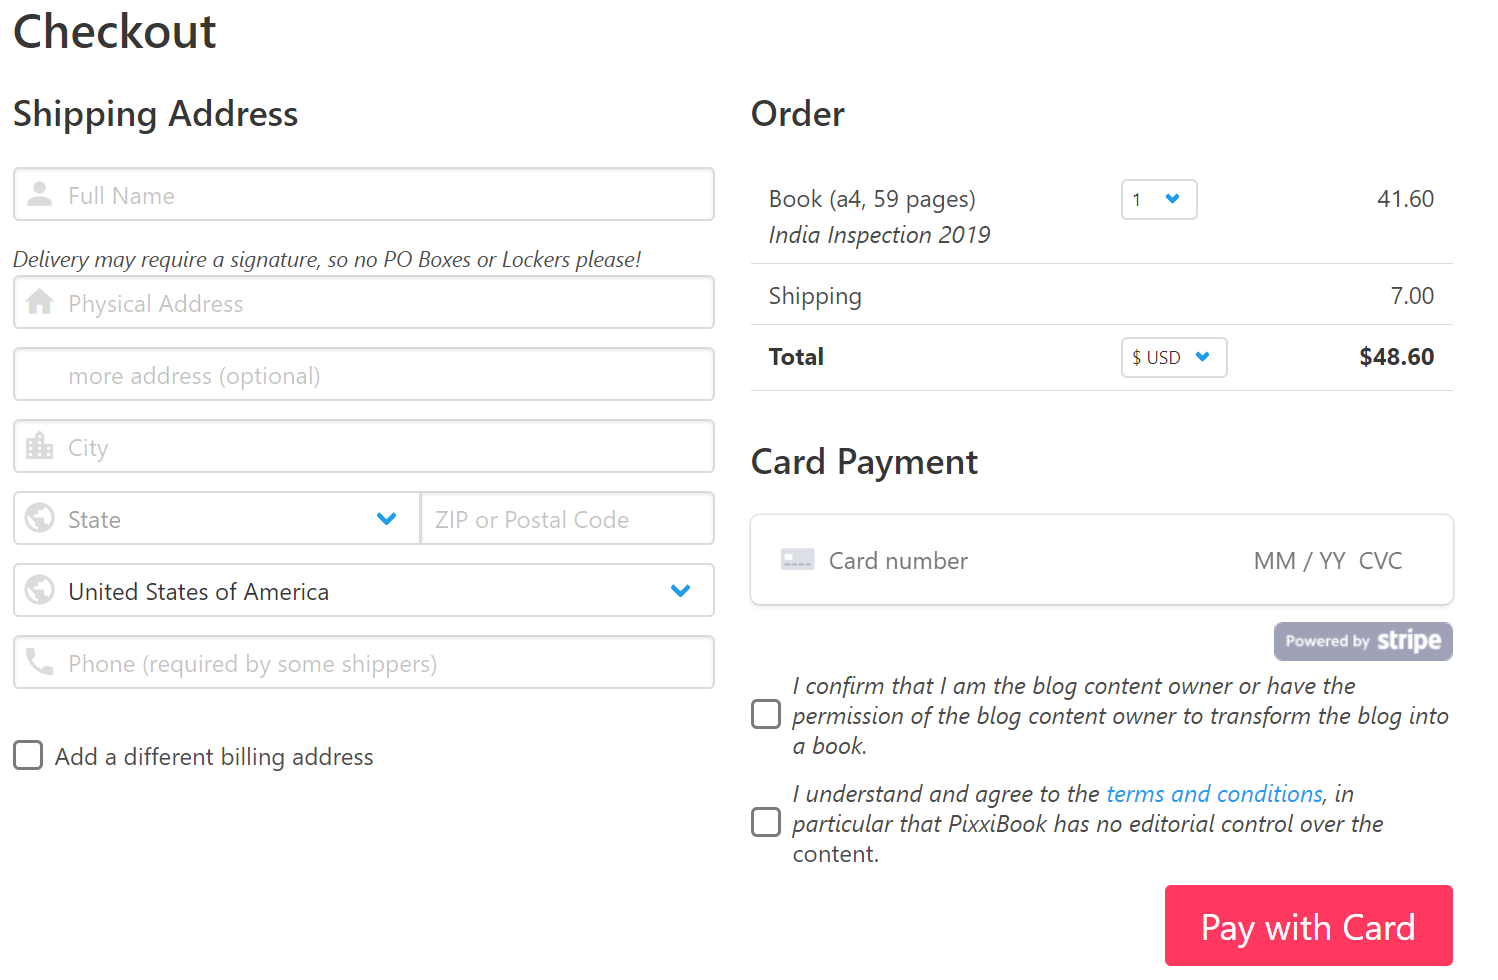
6. Order!
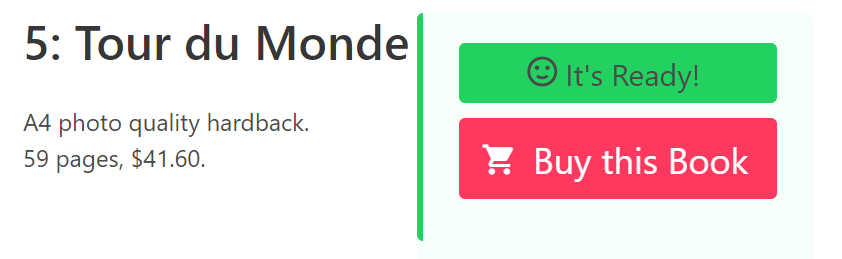
Oh happy day! When you are happy with your book preview, click “Buy this Book”, fill out your address and payment details and then “Pay with Card”.
Sit back, relax, wait about two weeks and then check your letterbox. If you’re not good at waiting, check your email for notifications of printing and dispatch (note that these might be in your spam folder!).
Ok, Let’s Go
Ok, so what are you waiting for? It’s actually quicker to create your blog book than to read this guide so go ahead and put your blog address in the box below and “Make my Book”.